A digital scale will allow you to measure the thickness of all your pieces. You can make your own calipers by dismantling one and silver soldering a set of jaws to it. This article will show you how to make spring calipers. You can also adjust the thicknesses of digital calipers' jaws. Once you know how to use a digital caliper, you can make your own wood turning calipers.
Dismantling a digital scale
A digital wood turning caliper can be difficult to dismantle for woodworkers. These calipers are useful for measuring precise distances, but can be complicated to disassemble. Here are a few steps to follow:
Silver soldering a set of jaws on it
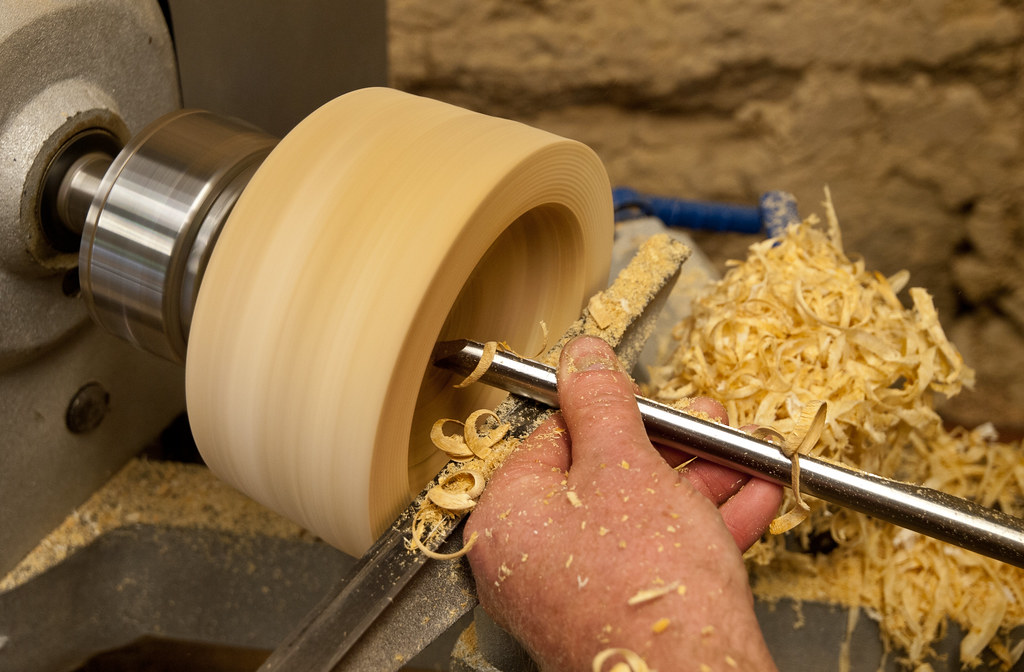
When soldering a set of jaws, you must ensure that they are angled at a 25-degree angle. Also, ensure that you bevel the blade's sides. The bevel should be on the opposite side. To get an idea of how it works, see the image below. The next step is to trim the ribbon silver solder to desired lengths.
Make a pair of spring calipers
Making a pair of spring calipers isn't difficult. These calipers can be made in under an hour. The divider allows you to measure the diameters and thicknesses of turn vessels. The divider has 2 straight, adjustable legs each with sharp points on either end. The divider typically stands half as high as a man. A firm-joint caliper is held in place by friction on the joint. These calipers are useful in measuring distance between two surfaces and measure the diameter of the hole.
You can adjust the thickness the jaws using a digital scaler
A caliper is an essential tool for woodworking. These calipers measure the dimensions of each piece of wood. The calipers also include a depth gauge, which measures the distance between objects. A caliper contains several parts. It has an external jaw and depth gauge. For wood turning, you'll likely want to use a caliper that has an external jaw and a corresponding depth gauge.

Be aware of the measurement limits when you use a digital ruler. The most difficult measurement is getting a consistent reading. Holding the caliper perpendicular to the face you're measuring is tricky, and you may need to take multiple measurements until you get an accurate reading. Different machinists can get different depth measurements. The digital scale can be used to measure both the internal and external dimensions.
Galbert calipers
Galbert wood turning calipers can help you save time and effort when turning a tenon. They can be used to accurately measure diameters without stopping the lathe. The caliper simply fits against the work and you cut until it reaches the target diameter. This tool has reduced my time for tenon turning by half. It will even pay for itself after just a few projects.
The most impressive feature of a Galbert wood-turning caliper is its ease of use. It makes repetitive pieces more accurate and consistent. It comes with a built-in measuring scale that allows you accurately to measure the diameter of each cut. You can also use this tool with a parting instrument to change the diameter of any piece you are turning. It's also very easy to use. You can even measure the diameter of the spindle.
FAQ
Do I have the potential to make a decent living doing this?
Yes! In fact, most woodworkers already have it. According to the U.S. Bureau of Labor Statistics' (BLS), in May 2012 the median annual wage of woodworkers was $34,000 This is significantly higher than the national average, which is $31,000 per year.
How often should I purchase new supplies?
Over time, you may need to replace your tools. You'll need to sharpen your hand tools regularly if you use them. And if you're using power tools, you'll need replacement parts periodically. You can spread your purchases over a number of months to avoid spending too much.
Is there anything else I should know about woodworking?
Furniture making is a laborious task. It's easy not to appreciate how hard it is. Finding the right wood is the hardest part. There are so many wood options that it can be difficult to choose the right one.
Another issue is that wood does not have the same properties. Wooden can split or crack, while some woods may warp. You must take these things into consideration before purchasing wood.
How do you know which tools are the best for you?
When shopping for tools, it helps to think about your needs and preferences. Do you prefer metal or plastic handles? What size screws and nails do you use most often? Do you prefer to use hand tools or power tools?
How much money do you need to get going?
Because each project is unique there are no exact numbers. Consider these factors if you need to estimate the amount of money that you will require.
-
Material costs
-
Tools and equipment
-
Time spent working on this project
-
Hourly rate
-
What amount of profit can you expect to make?
-
Whether you plan to hire help
If you're just starting out, you may decide to start small by making simple items such as boxes and picture frames. As you gain experience, you'll be able to tackle more complex projects.
How much should a Woodworker Charge per Hour?
Hourly rates for professional woodworkers vary depending on many factors such as skill, experience, availability, geographical location, and other variables.
A skilled woodworker can expect an hourly rate of $20-50.
An hourly rate of $10 for a less skilled woodworker could be possible.
Statistics
- Most woodworkers agree that lumber moisture needs to be under 10% for building furniture. (woodandshop.com)
- The best-paid 10 percent make $76,000, while the lowest-paid 10 percent make $34,000. (zippia.com)
- If your lumber isn't as dry as you would like when you purchase it (over 22% in Glen Huey's opinion…probably over 10-15% in my opinion), then it's a good idea to let it acclimate to your workshop for a couple of weeks. (woodandshop.com)
- In 2014, there were just over 237,000 jobs for all woodworkers, with other wood product manufacturing employing 23 percent; wood kitchen cabinets and countertop manufacturing employing 21 percent. (theartcareerproject.com)
External Links
How To
How to make wood joints
This tutorial will teach you how to join two pieces wood together. We will use the pocket hole joint, which is drilling holes in the wood to join them. If your wood is straight and flat, this method will work well. If your wood isn't straight or flat, you might want to try another method, such as dowel joinery. Here are the steps
-
Drill Pocket Hole Joints. Measure and mark the location where you would like to place the pocket hole joint. You will then drill 3/4" deep holes through each piece of wood with a jigsaw, handheld drilling machine, or hand-held drill.
-
Sand Smooth. The wood's edges can be sanded to prevent splitting.
-
Glue Together. Apply glue to the sides of both wood. Allow it to cool for at least 5 minutes before you attach the pieces.
-
Fix the Pieces together. After the glue has dried completely, you can clamp the pieces together until they are flush.
-
Trim Joinery. Trim any excess wood surrounding the joint once the glue has dried completely.
Be sure to leave enough space between each piece so that they can be turned inside-out.