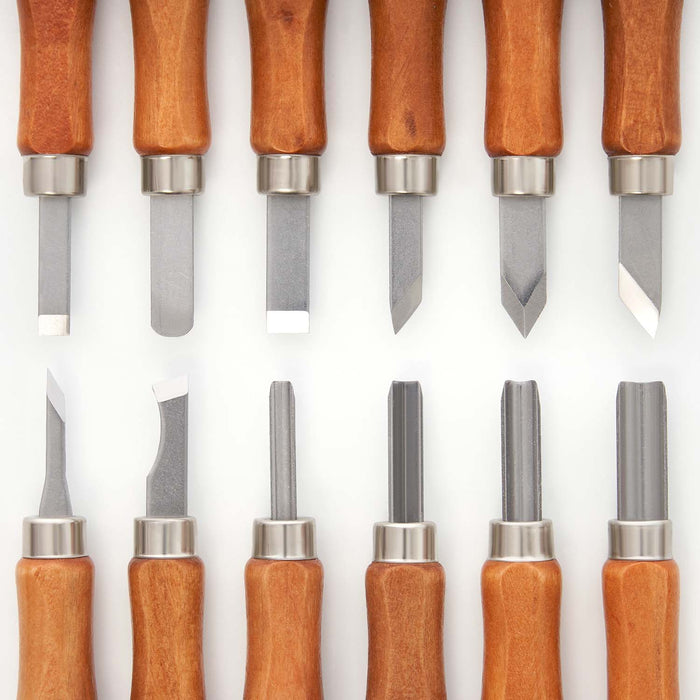
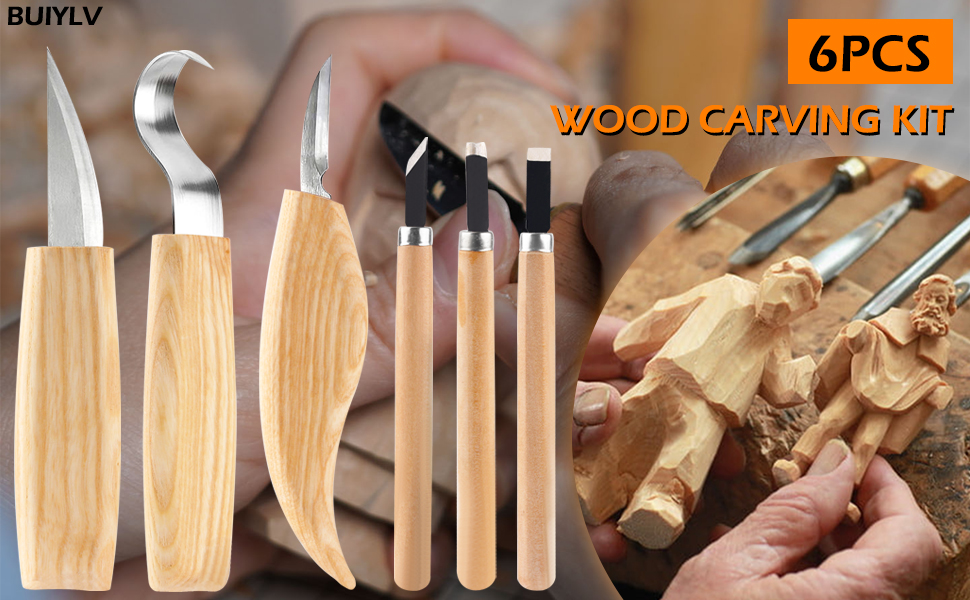
There are several options for woodcarving if this interests you. These patterns can be printed out, which makes the whole process easier for you. Start with basic geometric patterns. Once they are proficient at carving, they will be able to move on to more complex patterns such as flowers or animals. In this article, we'll look at several examples of woodcarving patterns. Here are some great patterns to help you master the art.
Fine Woodworking, Dremel. Detail Engraved Floral
You might be interested in crafting projects and the Detailed Engraved Flower, Finewoodworking by Dremel. These rotary tools (often called Dremels) are great tools for engraving and detail. They are simple to use. Simply set the speed dial, and then press the button at the top of the unit. When carving a wood surface, the speed dial will dictate how much material the tool can remove.
Detailed Engraved Flower by Frank C. Russell
The book "Detailed Engraved Flower by Frank C. Russell" is available in print and online. Russell's early work was heavily influenced by first-hand observations, even though his output was not completely documentary. His later works are a mixture of fictionalization and secondhand information. They are not strictly documentary. These are merely representations of a life that is both mythical and factual, without any definitive proof of the narrator.
"Detailed Engraved Flower by Frank C, Russell," one of his earliest works, is a vivid example of the artist's skill. This small piece is made from an ivory grip with a bull’s head. It dates back to 1911. The image is just a few millimeters long. This masterpiece was created by the artist in tribute to his mother who had passed before him.
Tumbled Rose Details Engraved Flower
Detailed Engraved Flower by Tumbling Rose is a beautiful wood carving pattern. This flower looks simple, but is actually composed of intricate petals. It is an excellent project for novice carvers due to its intricate details. These stock photos only show part of the engraved floral design. It is possible to find a few that work better than others. Tumbled Rose's detailed engraving flowers come in many sizes.
FAQ
Can I refinish my own furniture?
Yes! There are many options for refinishing furniture that you don't need to hire a professional. Here are a few ideas:
To remove stains and scratches, use sandpaper. Then wipe down the surface with a clean cloth.
Clear polyurethane varnish should be applied. Let dry completely before moving furniture around.
Use acrylic paint to paint furniture.
Instead of using paint, stain is a better choice. Furniture will look richer with the stain.
Shellac wax can be applied. Wax will protect the wood and add shine.
How long does it take to finish a piece of furniture?
It depends on the size of the piece of furniture. For smaller projects such as picture frames and boxes, it can take less than a day to complete. Larger projects, like desks or dining tables require several days. It takes time to properly stain and seal wood.
How do I get started with woodworking?
Building furniture is the best way to learn how furniture is made. Although you will need to have tools and may make mistakes along your journey, you'll soon be able to master it.
You should first choose the project you wish to complete. It can be as simple as a small box, or as complex as a complete entertainment center. Once you have chosen a project, locate a local woodworker who is skilled in this kind of work. Ask him or her for advice on what tools you'll need and where to find them. You might even ask whether there's someone else you can talk to who does this kind of work.
What is the difference of plywood and particleboard?
Plywood is made up of layers of wood pressed together under pressure. Plywood comes with a range of thicknesses, and it is most commonly used for flooring and cabinets. Particle board consists of sawdust mixed and resin. The resin is then compressed into large blocks. This board is commonly used in home improvement projects. Both types are sturdy and easy to cut.
How can I learn basic woodworking skills
The best way to learn how furniture construction is to make your own bench. You can do this project using any type of wood you have on hand at home. If you're not sure which kind of wood to choose, you can purchase cheap pine boards at Lowes and Home Depot. Once you have built your bench, you will need to sand it off and then finish it with a stain/varnish.
What would you recommend as a starting material for woodworking?
Start with softwoods such as pine and poplar. When you feel confident with these two, move on towards hardwood.
How long does a piece take to finish?
It all depends on what type of wood you use, how complex your design is, and how much finishing you use. Hardwoods require more care than softwoods. Hardwoods can also be more costly than softwoods. But they last longer, and resist moisture better. The process of finishing a piece of furniture typically takes anywhere from one week to three months.
Statistics
- If your lumber isn't as dry as you would like when you purchase it (over 22% in Glen Huey's opinion…probably over 10-15% in my opinion), then it's a good idea to let it acclimate to your workshop for a couple of weeks. (woodandshop.com)
- The best-paid 10 percent make $76,000, while the lowest-paid 10 percent make $34,000. (zippia.com)
- The U.S. Bureau of Labor Statistics (BLS) estimates that the number of jobs for woodworkers will decline by 4% between 2019 and 2029. (indeed.com)
- In 2014, there were just over 237,000 jobs for all woodworkers, with other wood product manufacturing employing 23 percent; wood kitchen cabinets and countertop manufacturing employing 21 percent. (theartcareerproject.com)
External Links
How To
How to stain wood
Stain wood is a process that involves applying chemicals to the surface of wood, which changes its color. This chemical reaction changes the wood's color from white to brownish. Oak is the most commonly used wood for staining, but other woods can also be stained.
There are several ways to apply stains to wood surfaces. Some methods involve mixing the stain with a solvent (such as turpentine) and then brushing or spraying the mixture onto the wood. Other methods use a solution of water and dye applied directly to the wood. You can mix stains into varnishes or paints to make them part of your finish coat.
Preparing the surface for staining wood is the first step. You must clean the wood well to remove any grease or dirt that might interfere with the application of the stain. Sanding the wood removes scratches and imperfections. The next step is to choose the stain type you want. Penetrating stains are different from non-penetrating. Penetrating stains penetrate deeper than non-penetrating stains, which makes them great for dark colors like mahogany. Non-penetrating stains work best with light colors like maple.
Once you have decided on the stain type that you want, get your tools ready. Because you can spread the stain evenly with a paintbrush, it is ideal for applying them. You should also have some handy rags to wipe up excess stains after you finish painting. If you are planning to mix your stain, ensure you have enough containers for each component.
After you have prepared your materials for staining, clean the area. You can remove grime and dirt with warm water and soap. Use a dampened sponge and warm water to clean the entire piece. You should remove any debris, especially if your plan is to stain darker wood.
Next, apply the stain. Next, apply the stain to the furniture by starting at one end. Slowly and carefully work your way along the grain to reach the opposite end. Keep the stain from dripping off the wood's surface. Before moving on to the next steps, allow the stain drying completely.
Clear polyurethane is used to protect the painted surfaces. Apply three coats polyurethane sealer. Allow the third coat, which should dry overnight, to dry before sanding.