
If you've ever wondered what to do to finish your doors and windows, this is the place for you. Finishing trim involves several steps. In this article, you'll learn the proper techniques and materials for installing your trim. Once you have mastered the steps, you can apply the trim yourself. These are some tips to help you make the process as smooth as possible. It doesn't matter if your project is DIY or professional, you'll be on your way to creating a stunning door or window.
Techniques
No matter whether you're a professional or just a DIYer, learning the correct techniques for trimming is crucial to a successful job. There are a few tips that will make your job easier. Avoiding common mistakes when trimming is important. Here are some tricks to avoid. These techniques will save you so much time and reduce your headaches.

Tools
The most important tool in any carpentry project is a sharp pencil. A good pencil is worth the price of its gold when trimming. A difference of just a third inch can make all the differences between a good or perfect installation. You need to keep your pencil sharp, so make sure you buy enough trim to complete your project. These are 10 essential tools to use when trimming trim. These tools will make your job easier! Keep in mind that the sharper your pencil is, so the installation of trim will go more smoothly.
Materials
There are many materials available for finishing trim. Some types are made from plaster, and others are made of other materials. Others are made of plastic. Trim is often referred to as casing or molding. This article will explain the differences between trim types and how to install them. It is important to match trim materials with the decor in your room. You may want to try different materials in order to find the right one for your home.
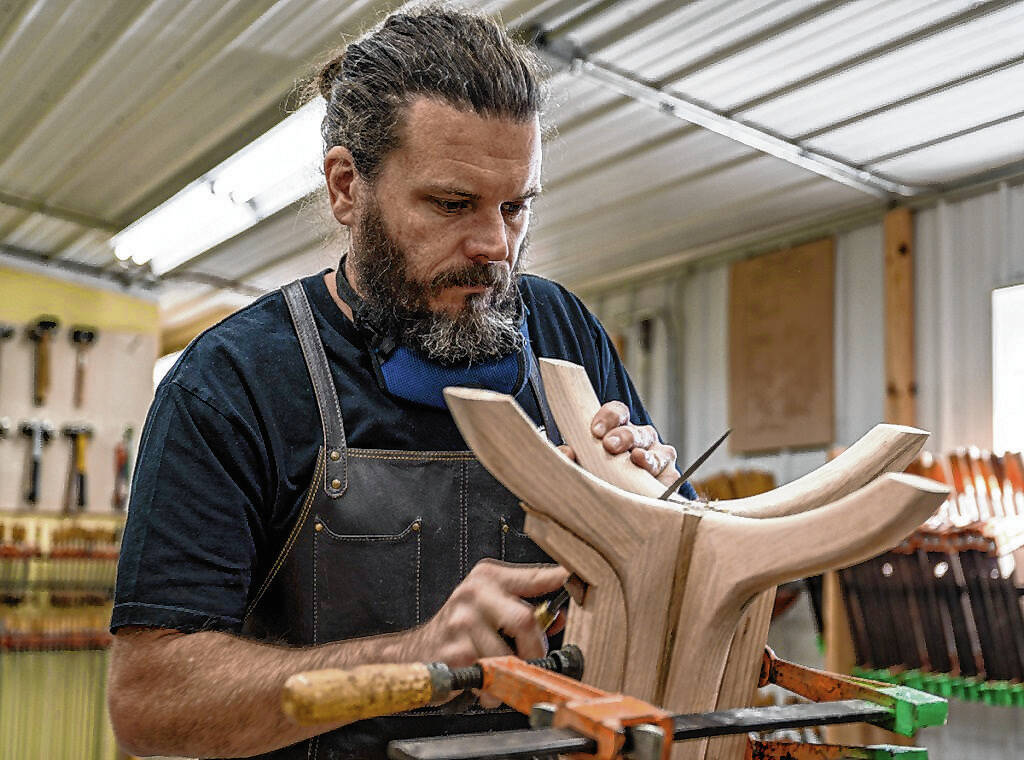
Preparation
Preparing to paint is a complex process. The way you prepare your project can have a significant impact on the outcome. Make sure you gather all the supplies you'll need and store them in an accessible location. After collecting all the supplies, you should clean them thoroughly before beginning the process. These tips will help you prepare your trim correctly. After cleaning your trim, apply the final coat.
Selecting a finish
There are three types of wood trim paint: semi-gloss or high gloss. Each finish has a distinctive look. The color of your trim, and overall appearance of your home will determine which one you choose. Below are some tips to help you choose the best paint finish for your home. Here are three options for wood trim paint finishes to make your decision easier. The detailed comparisons of each finish are available below.
FAQ
How do I get started as a woodworker?
Woodworking takes practice and patience. It takes time to master all the tools and techniques involved in woodworking.
There are many different types of woodworking equipment available on the market today. Some people prefer to use power tools while others prefer manual tools.
While you have the option to pick what you like, it is essential that you get the right tool for the job. A basic set of hand tools may be enough for you if your skills are not yet developed.
You could also try learning how to use a router which is used to cut intricate shapes into wood. These can be found at most hardware shops.
What is the minimum amount I will need to start?
Because each project is unique there are no exact numbers. These are the factors that will give you an idea of how much you'll need.
-
Material cost
-
Tools and equipment
-
The time spent on the project
-
Hourly rate
-
How much profit do you expect to earn
-
Hire help
You might start small if you are just starting out. As you gain more experience, you will be able tackle more complicated projects.
How long does it usually take to complete a piece furniture?
It depends on the wood type you choose, the complexity and the amount you apply to the finished product. For example, hardwoods require more maintenance than softwoods. Hardwoods can also be more costly than softwoods. But they last longer and resist moisture better. Finishing furniture can take anywhere from one week up to three months.
What kind of wood should you use?
Woodworking is a popular job that involves oak, pine and maple. Each type of wood has unique characteristics that affect the look and feel of the final product. Oak, for example, tends be darker and more hard than other woods. Birch is soft and light, and mahogany is denseer and heavier. You can also choose from solid wood or veneers. Veneers are thin sheets or wood that are glued together into one layer.
How much should a hobbyist invest to get started?
You will need capital to purchase the tools and supplies you need to start your woodworking business. You can start by purchasing a small table saw and drill press as well as a circular saw, circular saw, jigsaw and sanding machines. These items won't break the budget and aren't expensive.
How can my shop be organized?
To keep your workshop tidy and organized, you should first create a place for tools storage. Make sure your tools are clean and free of debris and dust so they can be used properly. To hang accessories and tools, use pegboard hooks.
What wooden items sell well?
The most successful wooden items are made from sustainable wood.
Maple, cherry, mahogany walnut, teak, mahogany and maple are the most common woods for furniture.
These woods have beautiful grain patterns and colors. They are also very strong. They are also very durable if properly maintained.
To prevent moisture damage to wood furniture, it is important that it be painted before any other surfaces. This includes all surfaces, including drawers, doors, and handles.
A paint that resists water is the best choice to ensure that furniture lasts a long time.
A high-quality oil-based primer should be used, followed by two coats with top coat. You may need to apply several coats of top coat depending on how much wear it is expected.
Avoid spray cans and aerosol paints. These products are contaminated with solvents, which evaporate rapidly and can leave behind toxic fumes.
Statistics
- If your lumber isn't as dry as you would like when you purchase it (over 22% in Glen Huey's opinion…probably over 10-15% in my opinion), then it's a good idea to let it acclimate to your workshop for a couple of weeks. (woodandshop.com)
- In 2014, there were just over 237,000 jobs for all woodworkers, with other wood product manufacturing employing 23 percent; wood kitchen cabinets and countertop manufacturing employing 21 percent. (theartcareerproject.com)
- The best-paid 10 percent make $76,000, while the lowest-paid 10 percent make $34,000. (zippia.com)
- Woodworkers on the lower end of that spectrum, the bottom 10% to be exact, make roughly $24,000 a year, while the top 10% makes $108,000. (zippia.com)
External Links
How To
How to join hardwood without using nails
Woodworking is a favorite hobby. It is relaxing and enjoyable because you can create something useful with wood. However, there are times when you want to join two pieces of wood together without having to use nails. This article will demonstrate how to do so to preserve the beauty of your woodwork.
The first thing you'll need to do is cut off any rough edges from your pieces of wood before joining them together. You don't want any sharp corners to cause problems later. Once you've done this, you're ready to start gluing your boards together.
If you are working with hardwood, only one side should be glue. You should glue both sides if you are working with softwoods such as pine and cedar. Once the glue has dried, press the boards together until they are fully adhered. Be sure to let the glue dry before you move on to the next step.
After you have glued the boards together, drill holes in the joints where you intend to place screws. You can choose the type of screw to determine the size of your holes. If you are going to use a half-inch wood screw, you will need to drill at least 3/4 inch deep.
After drilling the holes, you can drive the screws into your board's backside. Avoid hitting the board's top surface. Otherwise, you could ruin the finish. When driving the screws, try to avoid hitting the ends of the screws too much. This will avoid splitting in the wood's ends grain.
Once your project is complete, it's time to protect it against the elements. You can seal the furniture pieces or cover the top. You want it to last years, so you can use any product. Examples include oil-based varnishes and polyurethanes, shellac, lacquer and others.
These products are available at most home improvement stores. You should make sure you are getting the right type for the job. Also, remember that some finishes are toxic and should never be used indoors. Protective gear should always be worn when handling these finishes.