Before you start cutting picture frame patterns, you must learn the Basics of a scroll saw. This article will guide you through how to use your scroll saw to cut patterns. This article will also show you how to create picture frames using scroll saw patterns. Before you start cutting, you should have a scrollsaw. Make sure the scroll saw you are buying is the right size.
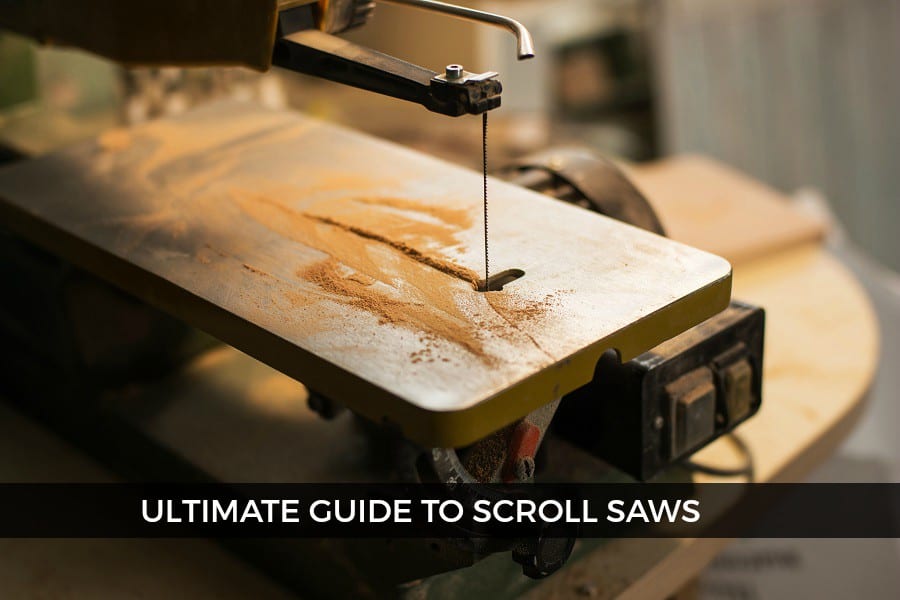
Basics of a scroll saw
Scroll saws are great tools for creating wooden frames and picture holders. There are two main types of scroll saw projects: wall hangings and flat, tabletop displays. Both types of scroll saw projects require multiple pieces of wood of different shapes and sizes. Multiple layers of wood are required to make a 3D scroll saw design.
Before you start cutting, make sure you find a scrollsaw pattern that suits your skill level. There are thousands online of free patterns. Many patterns are suitable for beginners, while others are more advanced. Most of these patterns are simple to follow so you'll be able to find one that suits your needs. To protect your frame from any damage, finish it off with wood varnish or lemon oils.
A self-contained puzzle of Noah's Ark is another easy scroll saw project. This pattern is printable so you can test your skills. Then, if you prefer a puzzle, there are several printable patterns for this project. A freestanding VW Beetle puzzle is another option if you don't feel comfortable with scroll saws. This is not only a beautiful frame, but it also provides a great mental exercise. If you are looking to save time and have a simple project, a tutorial or professional scroll saw design is the best option.
Basics of using a scroll to cut patterns
If you are thinking of creating your own wooden picture frames from scratch, then you might consider learning how to cut picture frame patterns using a scrollsaw. Patrick Spielman's book has lots of great new designs you can try. This book is unlike any other on the subject. It contains over 30 patterns and each one uses a different scrolling style. You will learn how to size, copy and transfer patterns.

A scroll saw is a great tool for creating picture frame patterns. This technique is used by many picture frame patterns. This method makes it easier to cut the pieces precisely because they nest together. By tilting the table, double beveling can be achieved. This kind of marquetry can also be called "artistic hardwoodworking" and is great for those just beginning the craft.
A scroll saw can be bought online for less than $40 Scroll saws available online are usually basic models that have been around for a while, but they are in good shape. A scroll saw can be purchased online for a low price and enables you to learn how to make picture frames. There are many sites where you can buy used scrollsaws. These websites are great for woodworkers who don't have the budget to buy new scroll saws.
How to make picture frames using a scrollsaw
A scroll saw can make it difficult to create picture frames. This is why you need to be familiar with the tool. This book provides information on basic scrolling techniques and illustrates different types of picture frames. Picture frames, contrary to their name, consist of two main boards. A main board with a opening for the frame and a smaller faceframe glued on top. This is used to hold the image. The book is a good guide, even though it has many steps.

This book offers many projects ideas for beginners in scroll saw. The book includes 32 different designs that can be created using the scroll saw. Each frame design has many variations. There are many variations on each frame design. This book is much more than a simple pattern book. Listed below are some of the techniques that can be used. You can learn them and experiment with other scrolling techniques until you find the best one for your picture frame project.
FAQ
Can this be a way to make money?
Yes! In fact, most woodworkers already have it. According to the U.S. Bureau of Labor Statistics, the median annual woodworker wage was $34,000 in May 2012. This is higher than the $31,000 annual national average.
What kind of tools do carpenters use?
Carpenters use a hammer as their most common tool. A hammer is used for pounding nails into wood. It also helps them hold pieces together while they are working on a project. Other tools include clamps. pliers. screwdrivers. measuring tape. pencils. saws. drills. wrenches.
How long does it take to finish a piece of furniture?
It depends on which wood you choose, how complicated your design is and what amount of finishing you apply. Hardwoods require more care than softwoods. Hardwoods are more expensive than other woods. But they last longer, and resist moisture better. The process of finishing a piece of furniture typically takes anywhere from one week to three months.
Statistics
- In 2014, there were just over 237,000 jobs for all woodworkers, with other wood product manufacturing employing 23 percent; wood kitchen cabinets and countertop manufacturing employing 21 percent. (theartcareerproject.com)
- If your lumber isn't as dry as you would like when you purchase it (over 22% in Glen Huey's opinion…probably over 10-15% in my opinion), then it's a good idea to let it acclimate to your workshop for a couple of weeks. (woodandshop.com)
- Most woodworkers agree that lumber moisture needs to be under 10% for building furniture. (woodandshop.com)
- The best-paid 10 percent make $76,000, while the lowest-paid 10 percent make $34,000. (zippia.com)
External Links
How To
How to make wood joints
This tutorial will teach you how to join two pieces wood together. We will be using the "pocket-hole joint", which involves drilling holes in wood and then gluing them together. This method works great if your wood is straight and smooth. Dowel joinery might be a better option if your wood is not straight or flat. Here are the steps
-
Drill Pocket Hole Joints. To start, measure and mark where you want to put the pocket hole joint. You will then drill 3/4" deep holes through each piece of wood with a jigsaw, handheld drilling machine, or hand-held drill.
-
Sand Smooth. Sanding the wood's edges will ensure that the joint doesn't split.
-
Glue together. Apply glue to the sides of both wood. Allow it to cool for at least 5 minutes before you attach the pieces.
-
Clamp the Pieces Together. After the glue has dried properly, clamp the pieces together to make sure they are flush.
-
Trim Joinery. After the glue dries, trim any excess wood around your joint.
You should leave enough space between the pieces to allow you to turn them inside-out.