It can be difficult to know where to start when you're just starting woodcarving. Here are a few tips for your first animal carving project:
Dog
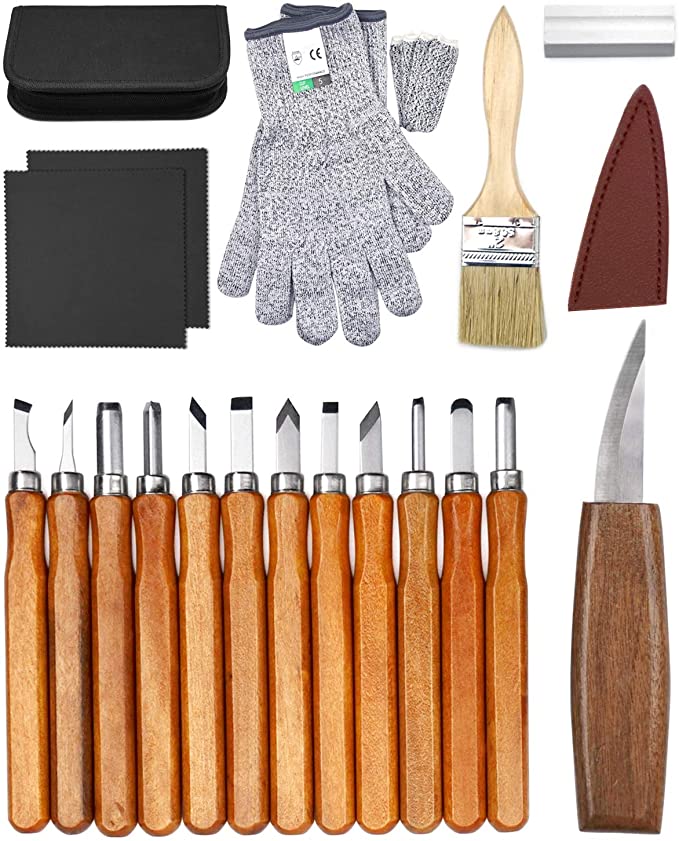
You can find many free patterns online for woodcarving dogs if you're an amateur. These patterns will guide you in carving your dog in a variety of styles and dimensions. These are the tools that you'll need to carve your pet dog. A band saw or copingsaw, chisels and a mallet are all you will need. You also need some time to sharpen them. Once you have these tools, you can start carving.
Eagle
The bald eagle is a traditional symbol of strength, courage, and wisdom to Native Americans. Its main function was to act as the creator’s messenger. It measured approximately 20 inches across and 5 in inches wide. The eagle is still a popular choice for wood carvers. You can choose from a variety of woods to make eagle carvings. This article will discuss some of the most well-known wood carving styles.
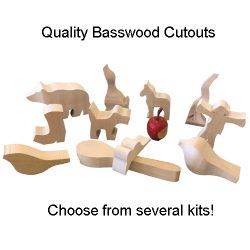
Bear
Carving a bear is simple and straightforward. Each line is heavier than the previous. For extra visual interest, the front paws of bears are angled towards the legs to add interest. For those who are just starting out in wood carving, a book can help you create a bear. James Miller's book shows the entire process.
Elephant
A stunning way to add personality to your home is to carve an elephant wood carving. 1stDibs stocks 56 antique carved wood elephants as a well as two new pieces. These pieces are popular since the 19th century. You can choose from Art Deco (Mid-Century Modern), Folk Art, or a smaller piece for a subtle addition to your home decor.
Moose
A moose is a great wood carving animal to try, whether you want to add antlers or just create a beautiful moose head. Dowels can be used to attach antlers or paddles to moose. You'll need to push them in and possibly glue them in place. You can then paint the moose using a walnut gel stain, or you can use paint to color it.
Template for Moose
A moose carving templates helps carvers to create realistic-looking carvings. Moose carvings can be colored with paints and stained with walnut gel stain. This animal is very easy to carve once you know the basics. Add details such as fur and eyes using a brush or a die grinder's typhoon bits. For beginners wood carvers looking to carve an animal, the Moose template will work well.
Bear template
To begin a bear wood carving, you'll need a template. Use a Dremel Tool to inspect the wood features. You can also use this tool to make stop cuts to separate legs and lower bodies. You can also make small V-cuts in the legs to indicate where they will split. After completing the ear and leg parts, you can round the underbelly. For the bear's final shape, you will need to leave some space at its back.
Eagle template
To carve an eagle, you will need three detailed templates. One of them is for the actual carving, the other will serve as your working paper template and will be cut off to transfer patterns. The third template will serve as a reference. Next, use the tools to cut the main lines of your template. Cut the lines so that they are close to the pattern. Make sure that you align all of your marks.
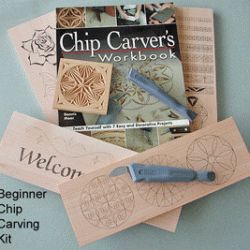
Template for the mouse
For those who are new to wood carving, there are many options. A template can make it easier and you can even find printable patterns to help you. If you're just starting out, you could start with a simple geometric pattern. Next, you can learn more complex patterns. Once you are comfortable with the basics, you can move on to the next step: creating the perfect mouse.
FAQ
Is it possible to refinish your own furniture?
Yes! There are plenty of ways to refinish old pieces of furniture without having to pay a pro. Here are a few suggestions:
Use sandpaper to remove scratches and stains. Next, wipe the surface clean with a damp cloth.
Apply clear polyurethane paint. Allow furniture to dry completely before you move it around.
Use acrylic paint to paint furniture.
Use stain instead of paint. The furniture will have a rich look thanks to the stain.
Use shellac wax. The wax will add shine to the wood and protect it.
Where to buy Hardwood Lumber
Home Depot sells hardwood lumber. They carry a variety of wood products such as flooring, cabinets, and furniture.
A wide range of engineered hardwoods are also available, such as Ipe and Brazilian Cherry (Pau d'Arco), Mahogany and Swietenia Macrophylla.
These woods can also be purchased online by simply searching Google for "hardwood timber"
How do I organize my shop?
Setting aside an area to store tools is the first step in keeping your workshop organized. To keep your tools sharp and ready for work, keep them clean of dust and debris. Hang tools and accessories using pegboard hooks.
What wooden items do you sell well?
These wooden products are the most popular. They were made from sustainably harvested wood.
Oak, cherry and mahogany are the most sought-after wood types for furniture.
These woods are very strong, but they also have beautiful grain patterns and colors. If they are well cared for, they can last many years.
To protect wooden furniture from moisture damage, you should paint it first. This includes all surfaces, including drawers, doors, and handles.
A paint that resists water is the best choice to ensure that furniture lasts a long time.
Use a high-quality, oil-based primer and two coats of topcoat. Depending on how often it will be worn, you may need to apply several coats.
Avoid spray cans or aerosol colors. These products are contaminated with solvents, which evaporate rapidly and can leave behind toxic fumes.
Do you have any tips on starting a woodworking business?
Starting a woodworking business is a lot of work. It's worth it if you're passionate and willing to work hard. You might even enjoy running your own business.
You should remember that unexpected issues may occur when you launch a new venture. You may run out of money suddenly. Perhaps customers won't pay you as much as you had hoped. Preparedness is key to survival in such situations.
A good tip is to open a separate bank account for your business. You will always know how much money you have coming in.
What kind of tools are used to carpenters?
Carpenters most often use a tool called a hammer. A hammer is used for pounding nails into wood. This helps to keep pieces together when they are working on a project. Other tools include clamps. pliers. screwdrivers. measuring tape. pencils. saws. drills. wrenches.
Which material would you recommend for woodworking lessons?
Start with softwood like pine, poplar and ash. Once you feel comfortable with these two, move on to hardwood.
Statistics
- Average lumber prices rose about 600 percent between April 2020 and May 2021. (familyhandyman.com)
- Overall employment of woodworkers is projected to grow 8 percent from 2020 to 2030, about as fast as the average for all occupations. (bls.gov)
- Woodworkers on the lower end of that spectrum, the bottom 10% to be exact, make roughly $24,000 a year, while the top 10% makes $108,000. (zippia.com)
- In 2014, there were just over 237,000 jobs for all woodworkers, with other wood product manufacturing employing 23 percent; wood kitchen cabinets and countertop manufacturing employing 21 percent. (theartcareerproject.com)
External Links
How To
How to join wood without using nails
Woodworking is a hobby that many people enjoy doing. Woodworking is a relaxing hobby that allows you to use your hands to create useful things from wood. You might want to join two pieces from the same wood, but you don't need to use nails. This article will explain how to do this so that your woodwork projects stay beautiful.
Before you can join the wood pieces together, you need to remove any rough edges. Sharp corners can cause problems down the line. Now it's time to start glueing your boards together.
If you're working with hardwood, you should only apply glue to one side. If you are using softwoods such pine or cedar, glue should only be applied to one side. After applying the glue, press the boards firmly until they are completely stuck together. Before moving onto the next step, make sure the glue has dried completely.
After you have glued your boards, drill holes where you want to insert screws. Depending on what type screw you choose, the size of these holes will depend on how big they are. If you are going to use a half-inch wood screw, you will need to drill at least 3/4 inch deep.
After drilling your holes, drive the screws into the board's backside. Be careful not to hit the front surface of the board, or else you'll ruin the finish. Don't drive the screws too far into the end. This will prevent the wood from splitting.
Protect your finished project now. You can either cover the entire furniture or just the top. Either way, you'll want to use a product that will last for years to come. There are many options: oil-based varnishes; polyurethane; shellac; lacquer.
These products can usually be found at any home improvement store. Just make sure that you buy the right kind for the job. Remember that some finishes can be toxic, so you should not use them indoors. Protective gear should always be worn when handling these finishes.