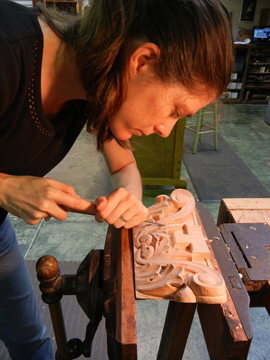
You might be unsure where to start if you are a beginner woodcarver. These are some tips for starting your first animal carving project.
Dog
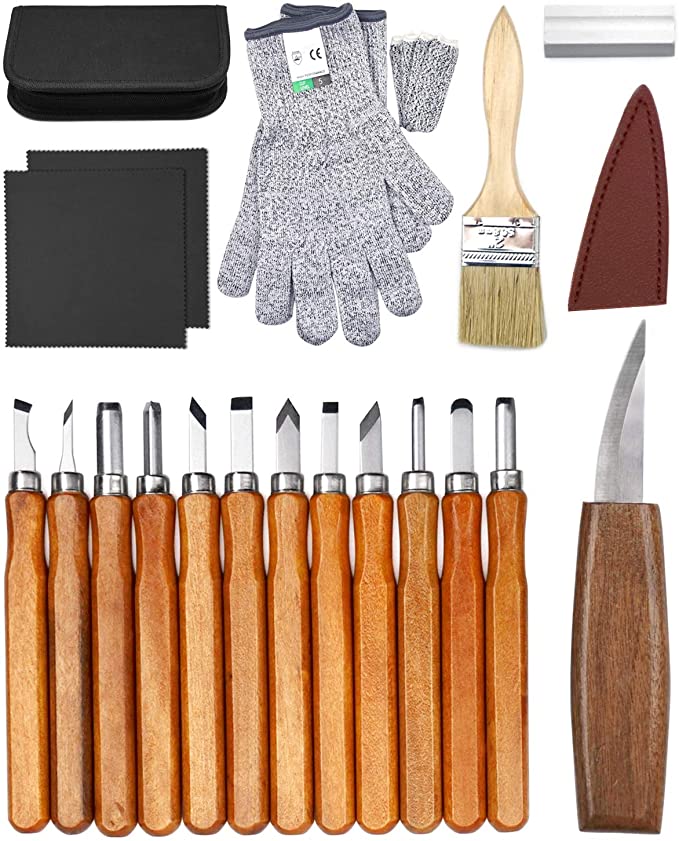
You can find many free patterns online for woodcarving dogs if you're an amateur. These patterns will guide you in carving your dog in a variety of styles and dimensions. Here are some of the tools you will need to carve your dog. A band saw or copingsaw, chisels and a mallet are all you will need. You also need some time to sharpen them. Once you have these tools, you can start carving.
Eagle
Native Americans see the bald-eagle as a symbol of strength and courage. It was approximately 20 inches in diameter and five inches wide. Today, the eagle is a popular choice for wood carvings. There are many different wood options available for eagle carvings. This article will highlight some popular wood carving styles.
Bear
Carving a bear is simple and straightforward. Each line carries more weight. For added visual interest, the bear's front paws are placed opposite the leg lines. For those who are just starting out in wood carving, a book can help you create a bear. James Miller's book shows the entire process.
Elephant
An elephant wood carving adds character and beauty to any home. 1stDibs stocks 56 antique carved wood elephants as a well as two new pieces. These pieces were made as early as the 19th-century and have grown in popularity over recent years. You have the option to choose from Art Deco or Mid-Century Modern styles. Or, you can pick a smaller piece that will add a subtle touch of elegance to your home.
Moose
You can carve a moose head or antlers by using moose antlers. Moose antlers and paddles attach to dowels. These will need to be pushed in and possibly glued in place. The moose can be painted with a walnut gel stain and/or colored with paint.
Template for moose
Carvers can use a moose carving template to help them create realistic-looking carvings. You can use paints to color your moose carvings. After learning the basics of carving this animal, it's not difficult. You can add details like fur or eyes with a brush, or a typhoon piece on a diegrinder. The Moose template can be used by beginner wood carvers to create an animal.
Bear template
A template is necessary to begin carving bear wood. Next, you will need a Dremel tool for exploring the wood features. Stop cuts can then be used to separate the legs of the lower body with this tool. You can also make small V-cuts in the legs to indicate where they will split. Round the underbelly once you've completed the leg and ear pieces. For the bear's final shape, you will need to leave some space at its back.
Eagle template
Three detailed templates will be required in order to carve an elegant eagle. One template will be used to carve the eagle. The other template will be used for working on paper and can then be cut to make patterns. The third template is for reference. Next, use the tools to cut the main lines of your template. Make sure that you cut out the lines as close to the pattern line as possible. Make sure that you align all of your marks.
Template for the mouse
You'll be surprised at the variety of designs you have to choose from if you're just starting wood carving. This will make your job easier. If you are a beginner, you can start with a simple pattern. Then you can move onto more complicated patterns as you progress. Once you master the basics of mouse design, you'll be well on your way to designing the perfect mouse.
FAQ
What's the difference between plywood vs particle board?
Plywood consists of layers made from wood and pressed together by pressure. Plywood is available in a variety of thicknesses. It is often used to make cabinets or flooring. Particle board can be made from sawdust, resin, and then compressed to make large blocks. It's often used for home renovation projects. Both boards are strong and can be easily cut.
You can learn how to woodwork.
You can learn everything best by doing. Woodworking is an art that takes patience, practice, skill and experience. It takes time to master any craft.
To actually learn something is the best way. Start small and use what you learn.
What tools are used by carpenters?
A hammer is probably the most widely used tool for carpenters. A hammer can be used to drive nails into wood. This helps to keep pieces together when they are working on a project. Other tools include clamps and pliers, screwdrivers as well as measuring tape, pencils and saws.
Statistics
- In 2014, there were just over 237,000 jobs for all woodworkers, with other wood product manufacturing employing 23 percent; wood kitchen cabinets and countertop manufacturing employing 21 percent. (theartcareerproject.com)
- Most woodworkers agree that lumber moisture needs to be under 10% for building furniture. (woodandshop.com)
- Average lumber prices rose about 600 percent between April 2020 and May 2021. (familyhandyman.com)
- If your lumber isn't as dry as you would like when you purchase it (over 22% in Glen Huey's opinion…probably over 10-15% in my opinion), then it's a good idea to let it acclimate to your workshop for a couple of weeks. (woodandshop.com)
External Links
How To
How to make wooden joints
This tutorial will help you join two pieces of wooden together. We will use the "pockethole joint," which means that we drill holes in the wooden pieces and then glue them together. If your wood is straight and flat, this method will work well. If your wood isn't straight or flat, you might want to try another method, such as dowel joinery. These are the steps
-
Drill Pocket Hole Joints. Start by measuring and marking the spot where the pocket hole joint will be placed. Then drill 3/4 inch deep holes into the ends of each piece of wood using a jig saw or handheld drilling machine.
-
Sand Smooth. Sanding the wood's edges will ensure that the joint doesn't split.
-
Glue both sides together. Apply glue to both the ends of the wood. Let it sit for about 5 minutes before clamping the pieces together.
-
Connect the pieces. After the glue has dried completely, you can clamp the pieces together until they are flush.
-
Trim Joinery. Trimming the joinery after glue has completely dried.
Allow enough space between pieces so you can turn them inside out.