If you want to glue boards together, then you'll need glue. Glue can either be applied on one or both sides of a joint. A roller is a great way to apply a thin coating of glue. After the glue has been applied, let the boards cure for at most 24 hours before you move on to the next step. Any glue that is still oozing can be cleaned with damp cloth. The glue should be removed with either a chisel, or sandpaper. It is important to not cut corners when curing.
Glue boards should be used on both sides
You can ensure that your finished product is even and flat by attaching glue boards on both sides. You should not rush the entire process. It's a delicate task that should be handled in stages. Here are some tips to help you get it done successfully. It is important that the board is straight and flat. Use the right amount and a suitable adhesive.
Apply glue to the edges of a joint
The benefits of gluing joints are numerous. It makes joints stronger and prevents them from cracking or breaking. The glue is invisible so edges are smooth and straight. Also, spread a generous amount glue evenly throughout the joint. Regularly using clamps along the joint will create an overlap of "cones for pressure". This ensures a strong, thin glue line. Because they offer a lot of glue surface, lap joints are another option. These methods are great for this type.
Add thickness to a board
It is important that you add some thickness to all boards when glueing them together. If you don’t, your wood pieces will look more plywood-like. However, adding multiple layers of wood to your finished product will create a completely different look. When glueing multiple boards together, pay particular attention to the grain. Poor grain matches can ruin the beauty and appeal of your project. Avoid this problem by purchasing boards from one log. Add a little more for waste. Also, you can use stock that is already in your possession.
Use a caul to glue boards
A caul is a good way to make sure your glue board has a smooth surface and strong bond. A caul is simply a piece made of hard wood, which you attach perpendicularly to your table's top. Cauls should be made from hard wood and thicker in the vicinity of the glue seam. There are many options for how to use a caul with glue boards.
Avoid Flex in the cauls
For boards to be glued together it is essential to not allow the cauls to flex. This will prevent them from bowing. Cauls are curved, so when done up, they apply inward pressure. This can cause edge to edge boards to bow, even if they're symmetrical and the cauls are of the same stiffness. This can be fixed by making sure the edges are square and using a proper adhesive.

Create mirror-image grain patterns using edge-glued boards
Edge-glued boards consist of two pieces made from wood that have mirror image grain patterns. These boards are most commonly used to create veneers but they can also be made from solid wood. Resawing a piece of wood is followed by joining the two pieces with glue. I will demonstrate a few methods to achieve this effect in this article. Continue reading for more information.
FAQ
Are there any other things I should know regarding woodworking?
Furniture making is a laborious task. It's easy not to appreciate how hard it is. Finding the right type of wood is the most difficult aspect of this process. It can be hard to choose from the many types of wood that are available.
Another problem is the fact that not all wood has the same properties. Woods can warp, split, or crack over time. These things should be considered before you buy wood.
Where do I start with woodworking?
The best way to learn how to build furniture is by building furniture. Although you will need to have tools and may make mistakes along your journey, you'll soon be able to master it.
Begin by choosing the project that you want to finish. It could be something as simple as a box or as elaborate as a full-scale entertainment center. Once you've decided on a project, find a local woodworker who specializes in that kind of work. Ask them for suggestions on the tools you will need and where to buy them. Ask if you can find someone who does this kind work.
What kind of tools do carpenters use?
Carpenters use a hammer as their most common tool. A hammer is used for pounding nails into wood. They can also use it to hold the pieces together as they work on a project. Other tools include clamps, pliers, screwdrivers, measuring tape, pencils, saws, drills, and wrenches.
Statistics
- If your lumber isn't as dry as you would like when you purchase it (over 22% in Glen Huey's opinion…probably over 10-15% in my opinion), then it's a good idea to let it acclimate to your workshop for a couple of weeks. (woodandshop.com)
- Woodworkers on the lower end of that spectrum, the bottom 10% to be exact, make roughly $24,000 a year, while the top 10% makes $108,000. (zippia.com)
- Average lumber prices rose about 600 percent between April 2020 and May 2021. (familyhandyman.com)
- Overall employment of woodworkers is projected to grow 8 percent from 2020 to 2030, about as fast as the average for all occupations. (bls.gov)
External Links
How To
How to make wood joints
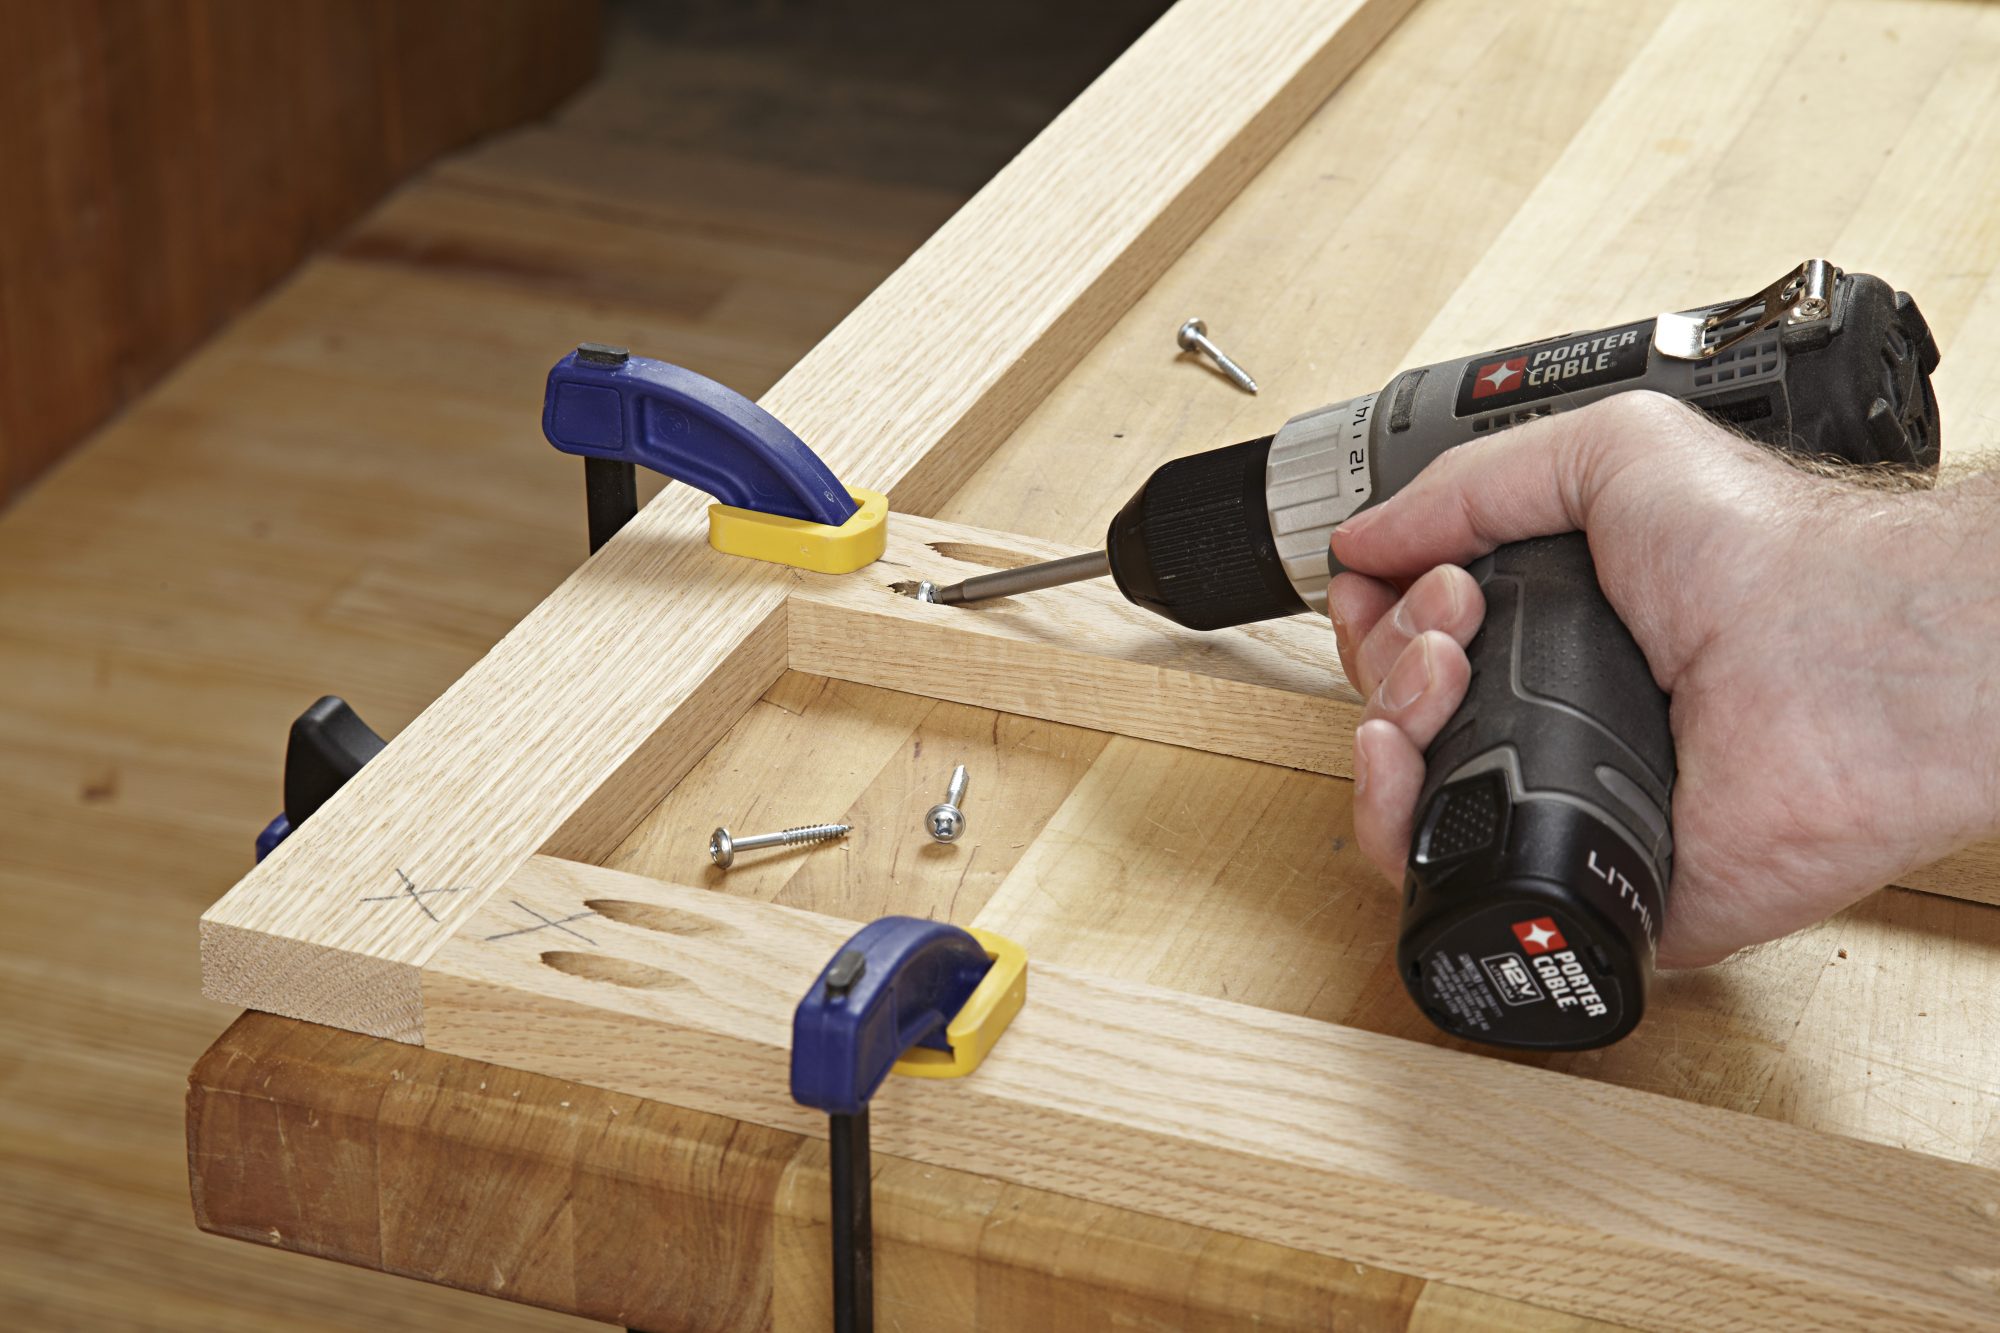
This tutorial will show how to join 2 pieces of wood together. We will use the "pockethole joint," which means that we drill holes in the wooden pieces and then glue them together. This method is great if your wood's straight and smooth. Dowel joinery might be a better option if your wood is not straight or flat. These are the steps
-
Drill Pocket Hole Joints. First, measure the area where you wish to place the pocket joint. You will then drill 3/4" deep holes through each piece of wood with a jigsaw, handheld drilling machine, or hand-held drill.
-
Sand Smooth. Sanding the edges of the wood will help to prevent the joint from splitting later.
-
Glue together. Apply glue to both ends of the wood. Allow the wood to rest for five minutes before clamping it together.
-
Secure the pieces together. After the glue has dried completely, you can clamp the pieces together until they are flush.
-
Trim Joinery. Trim any excess wood surrounding the joint once the glue has dried completely.
Be sure to leave enough space between each piece so that they can be turned inside-out.